
How to Find and Install Onelab VR Laboratory Trainings on Meta Quest

1.
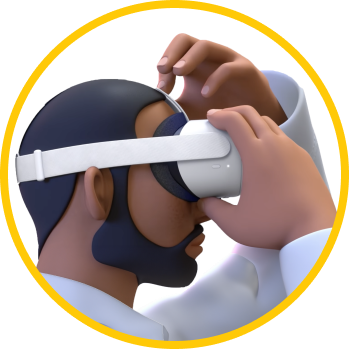
Power On the Meta Quest headset
then press and hold the power button until you hear a chime.
Note:
You will need a Wi-Fi connection and a mobile device (phone or tablet) to complete this process.
You will need a Wi-Fi connection and a mobile device (phone or tablet) to complete this process.
There are two ways to find and install OneLab VR laboratory training content on your Meta Quest headset: through the headset and the app. The easiest way to install the trainings is through the headset. Follow the instructions below to complete the installation process.


2.
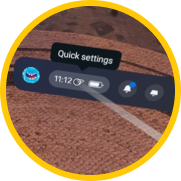
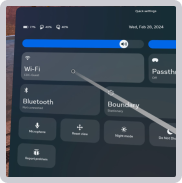
Confirm that the headset is connected to Wi-Fi. Confirm your connection status by looking for the Wi-Fi icon next to the clock in your headset’s taskbar.
3.
If you do not see the Wi-Fi icon, click on "Quick Settings" to check and configure your Wi-Fi connection.
4.
Select the store icon in the Quest taskbar and the search for the courses exactly as written below (you may not be able to find them otherwise).
4a. OneLab VR

4b. LabTraining VR: Biological Safety Cabinet (BSC) Edition

5.
Accept the App Lab warning message to access the application.

6.
Follow the prompts to download and install the apps.

7.
Click the library icon to find the newly downloaded apps.

8.
Scroll through your available apps and click on the application to launch it.

